A friend of mine gave me this case since he bought a new Lian Li. I like the way it looked so I just used it for a while on an old system.
After a while, and getting a couple of Gigabyte items, I thought I may as well try to build a Gigabyte-themed system. This is where it all begins.
This will be a work-in-progress. I will only consider the case finished when I feel that I can no longer do anything to improve it.
System Specs:
| Motherboard | Gigabyte EP45-DS3R |
| Processor | Intel e8400 3.0GHZ |
| Memory | 2x1Gb. Corsair XMS2 DHX |
| Graphics Card | MSI 8800GT OC (will be replaced with a Gigabyte one) |
| Hard Drives | 1x Western Digital 160Gb. Sata2 1x Samsung 400Gb. Sata2 1x Seagate Barracuda 500Gb. Sata2 |
| CD/DVD | 1x Sony DVD Writer Sata with Lightscribe |
| PSU | HEC WinPower 550AB (will be replaced with an Odin once I find a good deal on one) |
| Case | Gigabyte 3D Aurora |
Cooling:
| CPU | Gigabyte 3D Galaxy II WC Kit |
Initial Mods
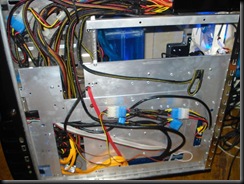
To start off, this case really needed a better way to deal with cables. By default, you have to run most of your cables right in front of the motherboard. Not too good for airflow and looks. So, what I did was cut off strategic parts of the motherboard tray where I wanted the wires to go through. Most will be hidden from sight and will sprout from under the motherboard.
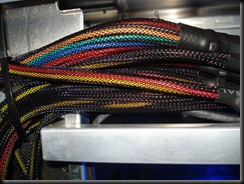
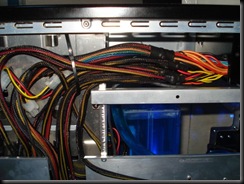
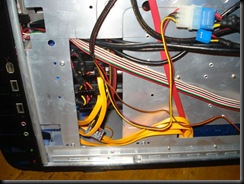
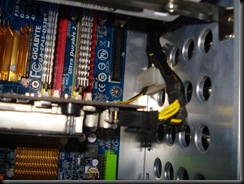
I cut out part of the side of the 5.25 drive bay so that I could pass all the cables from the PSU to the side of the drive bay. This will all look better when I get a modular PSU. I will also fix the cable mess at the back then. That black wire below those PSU wires is for the rear exhaust fans. It was already like that when I got the case. I'll take care of it later on.
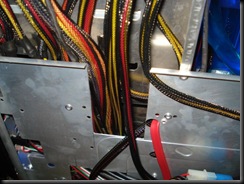
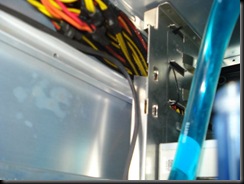
This part was cut out to make it easier to pass cables down into the HDD bay and to a small opening in front of the motherboard.
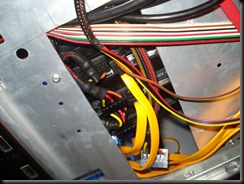
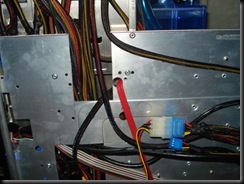
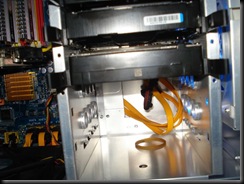
I inverted the way my HDDs mount so I had to cut an opening where I could run my cables. The SATA power cables come from the part I cut in the previous pics.
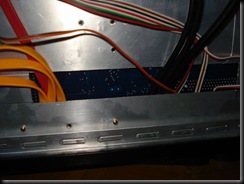
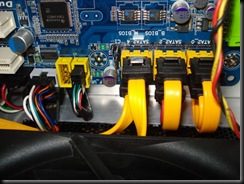
This is where the Sata cables, Power, Reset, HDD Led and I/O wires coming from the front of the case enter.
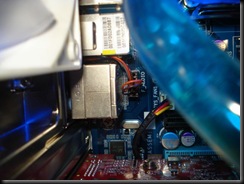
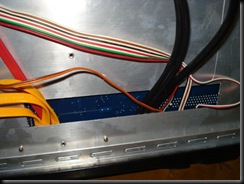
The front panel audio connector on the EP45-DS3R was located in the area where the rear I/O ports were so I made that hole to run the cable. You can see in the second picture where the wire passed.
This hole will also be used for rear fan power connectors later on.
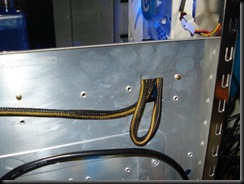
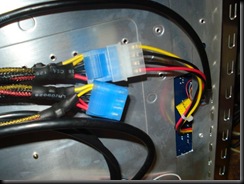
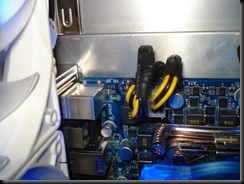
The hole is for the 12V CPU power connector.
Here are some pics from the other side:
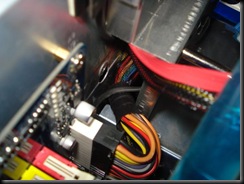
Clean motherboard frontal area
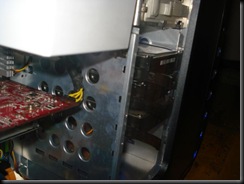
Inverted HDDs so that no wires are visible in that area
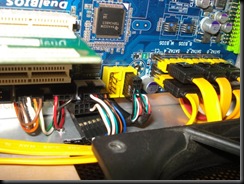
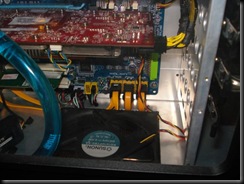
Tidy SATA and I/O Cables. Note that those 2 Sata cables on the left are for the rear eSata Bracket that came with the EP45-DS3R. They were too short to run under the motherboard. I'm still thinking of a better way to hide those.
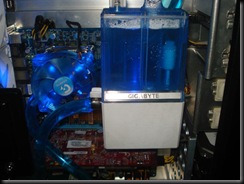
Mounting the 3D Galaxy II's Reservoir/Pump
This was simple and I used what I had on hand. Like I said, this is a work-in-progress so most of this will be moved around quite a bit.
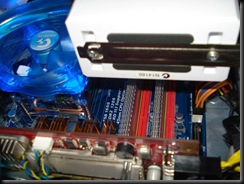
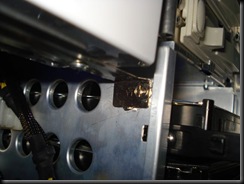
All I used was a rear PCI slot cover screwed to the wall of the HDD cage. I then drilled some holes for the screws to mount the assembly. This had to be done because of the next part. Read on!
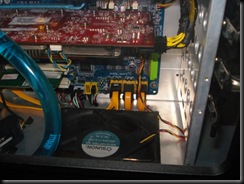
Bottom fan installation
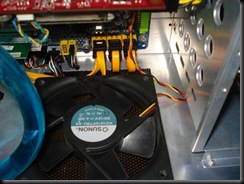
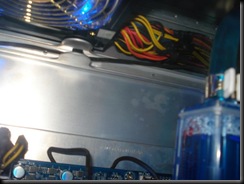
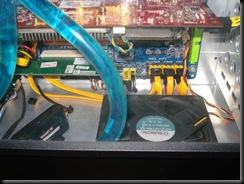
You may have noticed from previous pictures that I had a Sunon 120mm fan on the floor of my case. I just cut a square hole in the bottom and put some metal mesh. The fan is currently just laid on the mesh and not mounted in any way. The purpose of doing that is the fan's easy removal if ever I didn't need it anymore. In that case, it would just be an extra vent to pull air from.
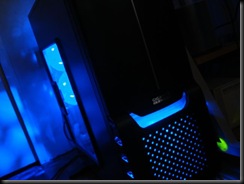
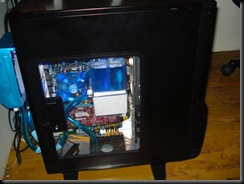
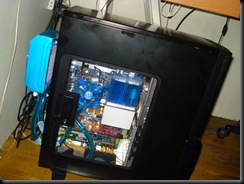
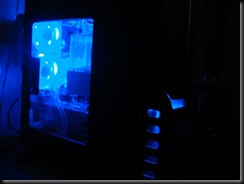
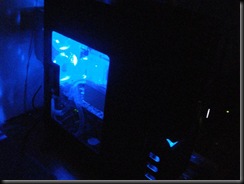
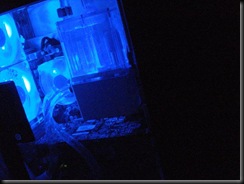
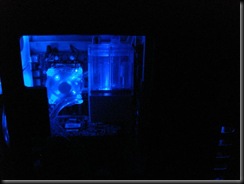
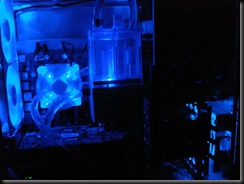
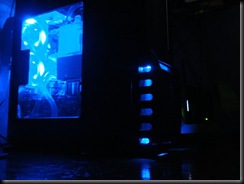
Darkness!
I guess that's it for now. Hope you enjoyed.

No comments:
Post a Comment